
Surya Namaskar (Sun Salutation) is one of the most popular yoga sequences in the world. It consists of 12 interconnected yoga poses performed in a flowing sequence that synchronizes movement with breathing. When performing it in the morning around the rising sun, Surya Namaskar is believed to be a great way to awaken the body, strengthen flexibility, and help health.
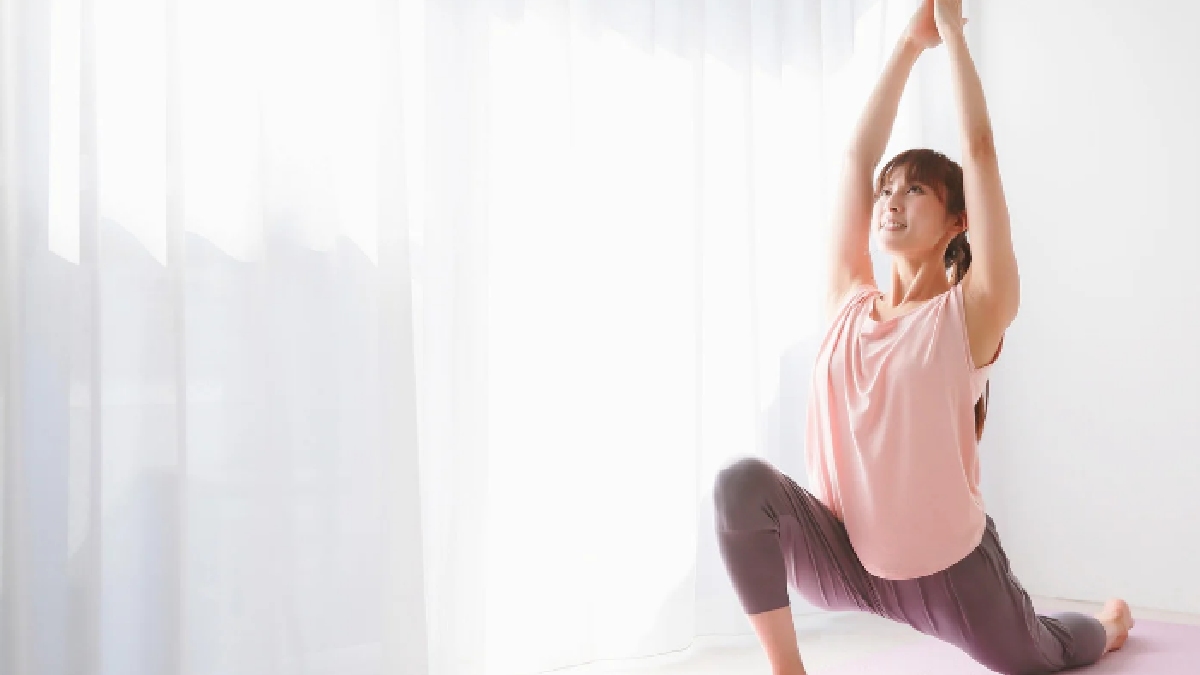
Surya Namaskar has so many benefits for the beginner and experienced yoga practitioner, for physical and mental health and fitness. It gently stretches and strengthens the muscles, improves posture, and encourages mindful breathing. It can work really well as part of a healthy fitness routine in a healthy way.
What is Surya Namaskar
Surya is the Sanskrit word for sun and Namaskar is salutation or greeting. Surya Namaskar is a sequence of yoga postures performed in honor of the sun; it is gratitude, energy, and vitality.
Related Articles
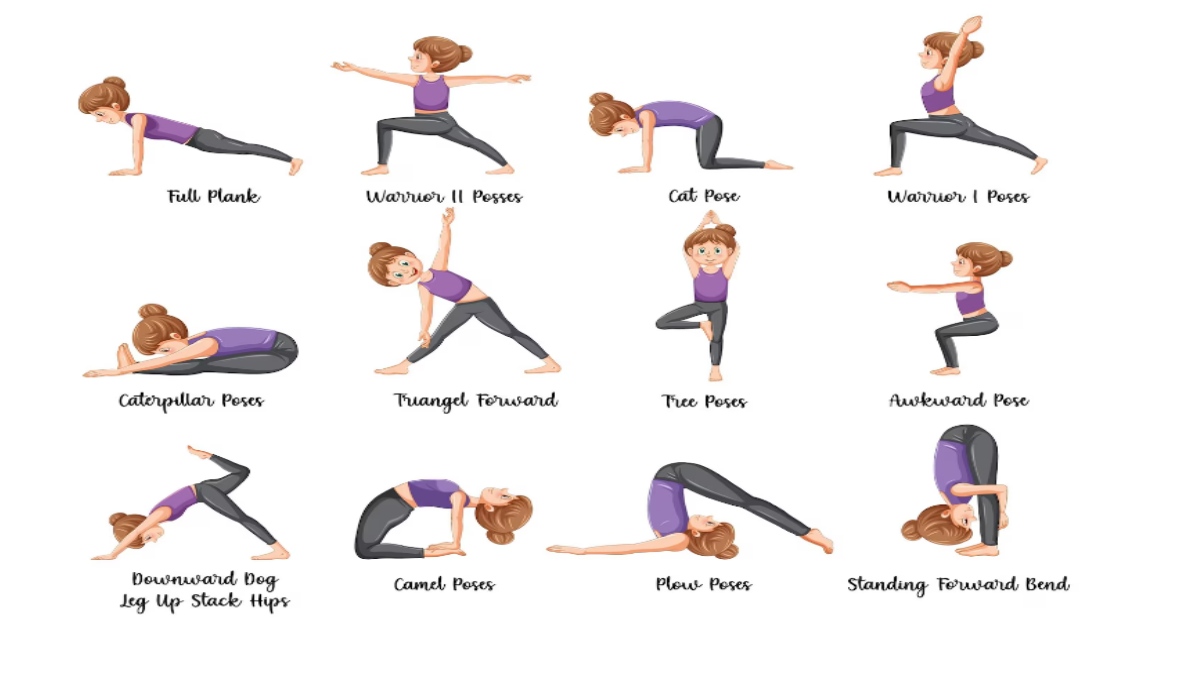
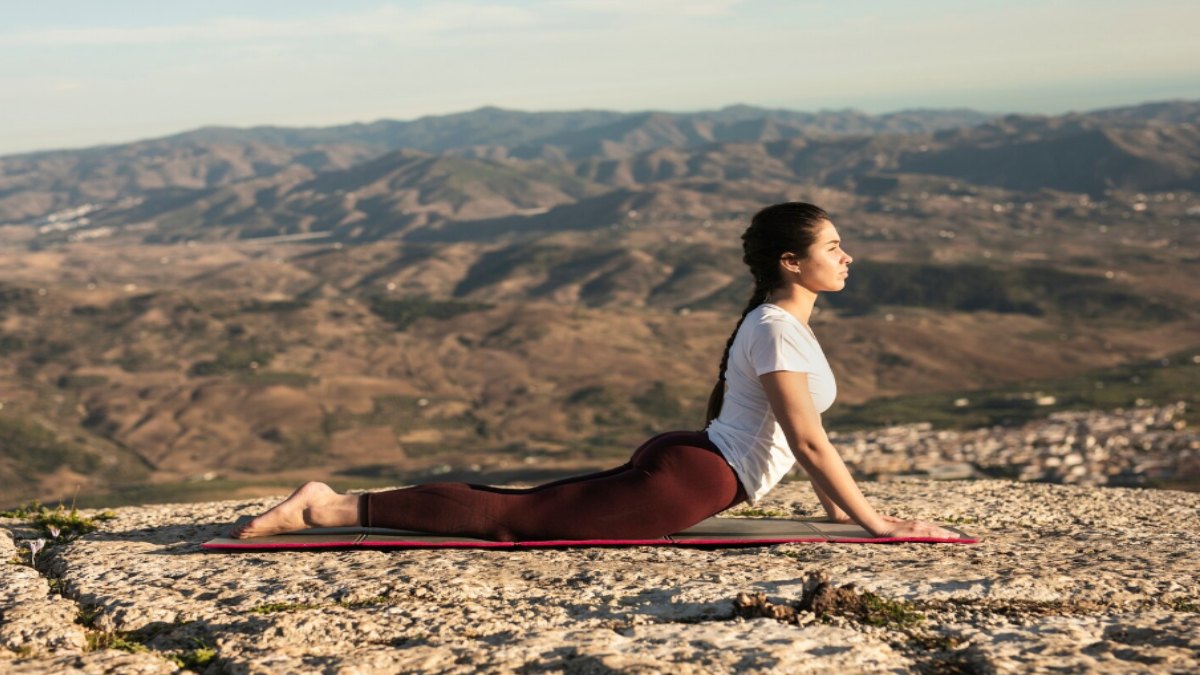
Each round has 12 poses performed in sequence. Completing the sequence on both the right and left sides is one full round.
Benefits of Surya Namaskar
Surya Namaskar practice regularly can have a lot of health benefits for me:
- Improves flexibility and mobility
- Strengthens muscles throughout the body
- Enhances balance and coordination
- Promotes healthy posture
- Supports cardiovascular health when done continuously
- Encourages mindful breathing and relaxation
- Increases energy levels
- Helps improve concentration and mental focus
- Supports overall physical fitness
Surya Namaskar can contribute to a healthy life, but it requires a balanced diet, sleep, and other healthy habits.
Related Articles
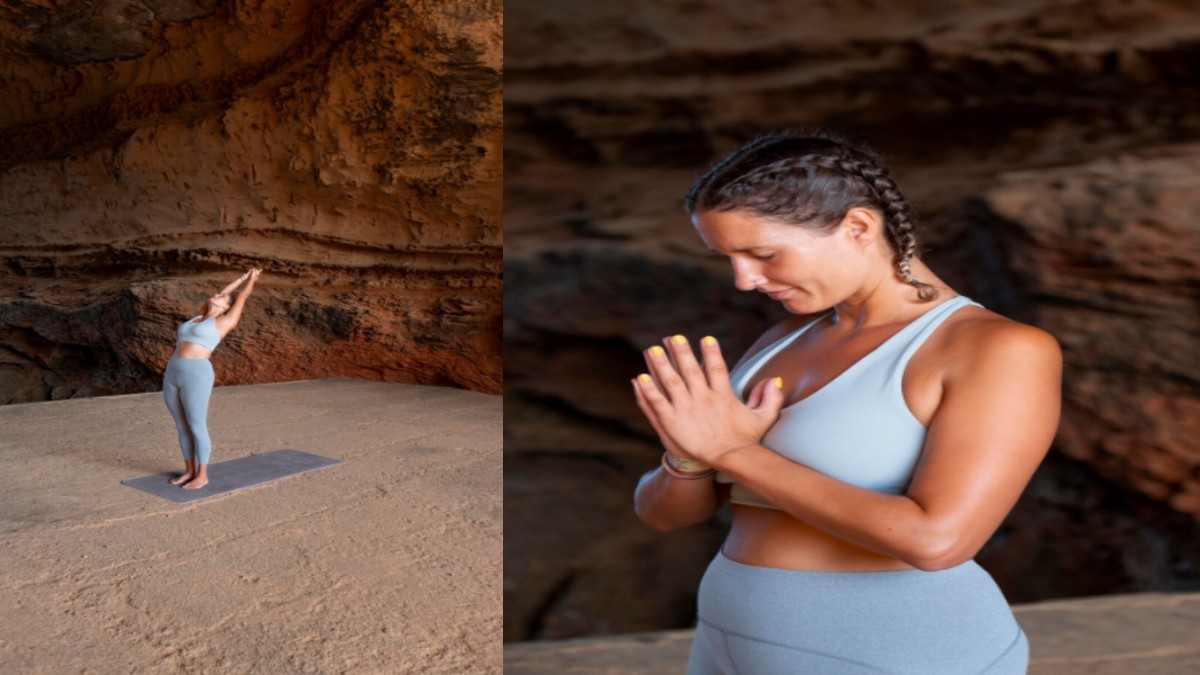
Step by step guide to Surya Namaskar
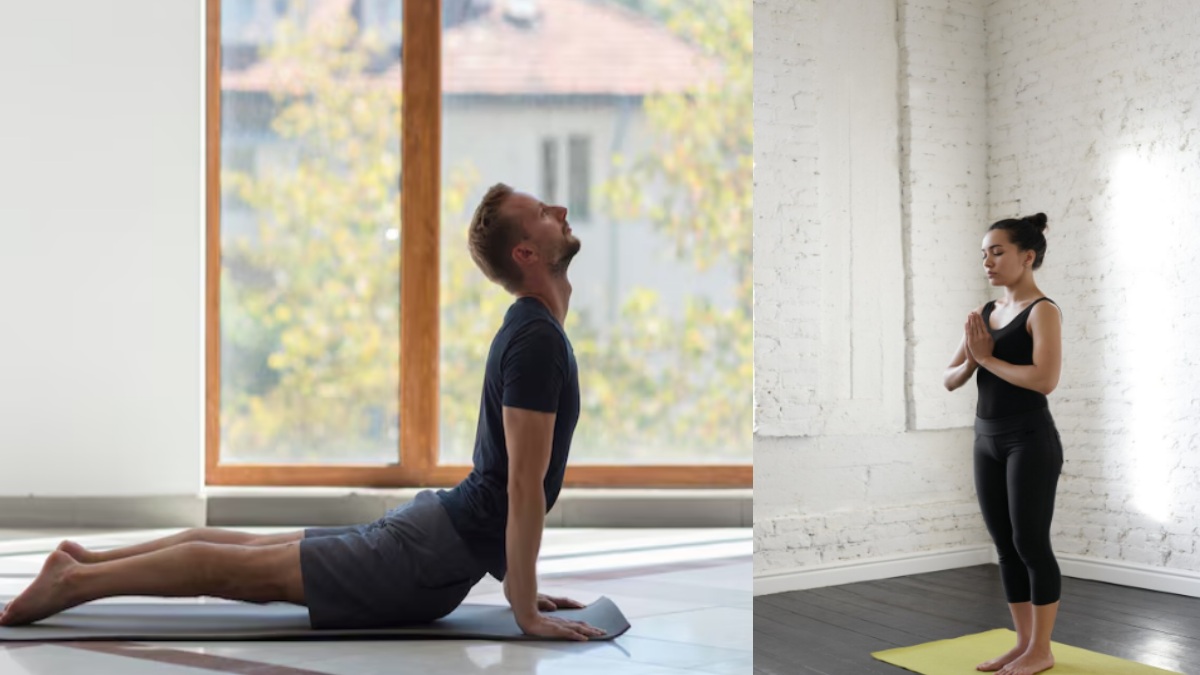
Step 1: Pranamasana (Prayer Pose)
Stand up straight with your feet together; keep your spine straight and relax your shoulders. Put your palms together in front of your chest in a prayer position.
Breathing: Breathe normally.
Step 2: Hasta Uttanasana (Raised Arms Pose)
Raise your arms overhead while keeping your palms together or shoulder-width apart. Gently arch your back and lift your chest toward the ceiling without straining your lower back.
Breathing: Inhale deeply.
Step 3: Padahastasana (Standing Forward Bend)
Bend forward from your hips while keeping your back as straight as possible. Bring your hands toward the floor beside your feet. Bend your knees slightly if necessary.
Breathing: Exhale.
Step 4: Ashwa Sanchalanasana (Equestrian Pose)
Step your right leg back while bending your left knee. Place your fingertips or palms on the floor and look gently upward, keeping your chest open.
Breathing: Inhale.
Step 5: Dandasana (Plank Pose)
Move your left leg back so your body forms a straight line from your head to your heels. Engage your core muscles and avoid letting your hips sag.
Breathing: Hold your breath briefly or maintain steady breathing, depending on your yoga style and comfort.
Step 6: Ashtanga Namaskara (Eight-Point Salute)
Lower your knees, chest, and chin gently to the floor while keeping your hips slightly raised. Eight parts of your body touch the floor: chin, chest, both hands, both knees, and both toes.
Breathing: Exhale.
Step 7: Bhujangasana (Cobra Pose)
Slide your chest forward and lift your upper body using your back muscles. Keep your elbows slightly bent and shoulders relaxed away from your ears.
Breathing: Inhale.
Step 8: Adho Mukha Svanasana (Downward-Facing Dog)
Lift your hips upward to form an inverted "V" shape. Press your palms firmly into the floor and lengthen your spine. Keep your knees slightly bent if your hamstrings feel tight.
Breathing: Exhale.
Step 9: Ashwa Sanchalanasana (Equestrian Pose)
Step your right foot forward between your hands while extending your left leg behind you. Lift your chest and look forward.
Breathing: Inhale.
Step 10: Padahastasana (Standing Forward Bend)
Bring your left foot forward to meet your right foot. Fold forward comfortably, allowing your head and neck to relax.
Breathing: Exhale.
Step 11: Hasta Uttanasana (Raised Arms Pose)
Rise slowly while lifting your arms overhead. Gently arch backward from your upper back while keeping your core engaged.
Breathing: Inhale.
Step 12: Pranamasana (Prayer Pose)
Return to an upright standing position with your palms together at your chest. Relax and take a few calm breaths before beginning another round.
Breathing: Exhale and return to normal breathing.
How many rounds should you practice
Begin with 3 to 5 rounds and then progress to 10 to 12 rounds as you gain strength and stamina. Practice at a comfortable pace and focus on proper alignment rather than speed.
Best Time to Practice
Surya Namaskar is usually performed early in the morning on an empty stomach. But it can be practiced later in the day, as long as you wait at least two to three hours after a meal.
Safety Tips
- Warm up before you start if your body is stiff
- Move slowly and avoid forcing any posture
- Keep your breathing smooth and controlled
- Use a non-slip yoga mat
- Stop if you experience sharp pain or dizziness
- If you have injuries, chronic medical problems, or are pregnant, consult a qualified healthcare professional or certified yoga instructor before starting
Common Mistakes to Avoid
- Holding your breath unnecessarily
- Rushing through the sequence
- Rounding the back excessively during forward bends
- Allowing the lower back to overarch
- Ignoring proper posture and alignment
- Practicing immediately after eating
Surya Namaskar is a complete yoga sequence that combines movement, stretching, strength, and mindful breathing into one practice. Its 12-step flow helps improve flexibility, muscle strength, posture, and overall fitness while promoting relaxation and mental focus. Surya Namaskar is a great practice for all fitness levels, whether your goal is to stay active, improve mobility, or establish a daily wellness routine.
Begin with a few rounds, focus on proper technique, and gradually build consistency. Over time, regular practice can become a rewarding part of a balanced and healthy lifestyle, helping you start each day with energy, mindfulness, and confidence.



Comments 0