
Nail art does not have to involve complicated patterns, professional tools or hours at a salon. With a few basic nail polishes and simple techniques, you can create attractive designs from the comfort of your home. Whether you are a complete beginner or simply looking for quick manicure ideas, easy nail art can be a fun way to experiment with your personal style.
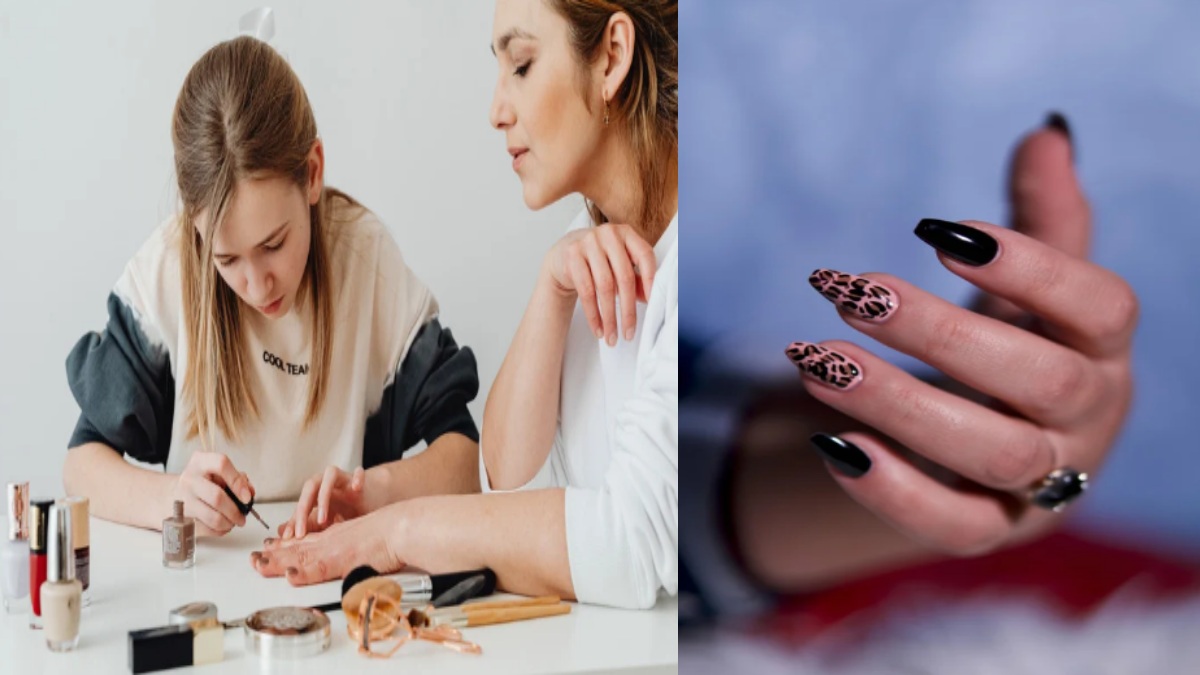
From minimalist dots to colourful French tips, there are plenty of designs that require very little experience. The key is to start with simple patterns, allow each layer to dry properly and avoid worrying about achieving perfection.
Prepare Your Nails First
Before starting any nail art, preparation can make a big difference. Remove old polish and gently clean your nails. Shape them using a nail file and push back the cuticles carefully if needed.
Related Articles


Apply a thin base coat before adding colour. A base coat can help create a smoother surface and may reduce staining from strongly pigmented polishes.
Keep cotton buds, nail polish remover and a small cleanup brush nearby to correct mistakes.
1. Classic Polka Dots
Polka dots are among the easiest nail art designs to create.
Related Articles
Apply your preferred base colour and allow it to dry. Then use a dotting tool, the rounded end of a bobby pin or a toothpick to place small dots on each nail.
You can create evenly spaced dots or experiment with different sizes. For a playful appearance, use several complementary colours.
Finish with a clear top coat once the design has dried.
2. Simple French Tips
A French manicure can look sophisticated without requiring advanced skills.
Start with a nude, pink or sheer base. Once it has dried, carefully paint a thin line across the tip of each nail.
If freehand painting is difficult, nail-tip stickers or small pieces of manicure tape can help create a cleaner edge.
For a modern variation, replace the traditional white tips with a colour of your choice.
3. Minimalist Line Art
Minimalist nail art is perfect if you prefer subtle designs.
Apply a base colour and allow it to dry completely. Using a thin nail-art brush, create one or two simple lines on each nail. Lines can be horizontal, vertical, diagonal or slightly curved.
You can keep the design monochromatic or combine contrasting shades.
4. Tiny Hearts
Small hearts are a cute option for beginners.
After applying your base colour, use a dotting tool to create two small dots next to each other. Gently pull the bottom of each dot together with a fine brush or toothpick to form a heart shape.
You can place one heart near the cuticle or create several tiny hearts across the nail.
5. Easy Floral Nails
You do not need to be an artist to create simple flowers.
Place five small dots in a circle to form petals, then add a smaller dot in the centre. Repeat the process to create flowers of different sizes.
A light base with small floral details can create a delicate look, while brighter colours can make the manicure more playful.
6. Colour-Block Nails
Colour blocking is another beginner-friendly technique.
Choose two or three nail polish shades that complement each other. Paint different sections of the nail using straight or diagonal lines.
Manicure tape can help create sharper borders between colours. Allow each section to dry before adding another layer.
7. Glitter Accent Nail
If you want a glamorous look without decorating every nail, try a glitter accent nail.
Paint most of your nails in a solid shade and choose one nail on each hand for glitter. Apply glitter polish over the accent nail, concentrating the product toward the tip for a gradient effect.
A clear top coat will help seal the design.
8. Ombre Nails
Ombre may look complicated, but a basic version can be attempted at home.
Choose two shades that blend well together. Apply them next to each other on a makeup sponge and gently dab the sponge onto the nail.
Repeat with thin layers until you achieve the desired intensity. Clean the skin around the nail with remover before applying your top coat.
9. Half-Moon Manicure
For a stylish twist on the classic manicure, try a half-moon design.
Apply your first colour and let it dry completely. Place small round stickers near the base of the nail, leaving the lower portion exposed. Paint the remaining nail with a second shade and carefully remove the sticker.
The result is a neat curved shape near the cuticle.
10. Abstract Nail Art
Abstract designs are particularly forgiving because they do not require perfect lines.
Choose two or three shades and create small curves, dots, waves and irregular shapes across the nails. Let different elements overlap slightly for a modern appearance.
Because the design is intentionally imperfect, small mistakes can easily become part of the overall pattern.
Tips for Long-Lasting Nail Art
Good application technique can help your manicure last longer. Apply polish in thin layers rather than one thick coat. Give each layer sufficient time to dry before adding another.
Always seal your design with a top coat. Pay attention to the free edge of the nail as well, as this can help reduce premature chipping.
Avoid using your nails as tools for opening containers or scratching hard surfaces.
Give Your Nails Time to Recover
While nail polish can be part of a fun beauty routine, it is also important to take care of your natural nails. Keep them clean and moisturised, and avoid aggressive filing or picking off polish.
If your nails become persistently brittle, painful, discoloured or otherwise unusual, consider consulting a healthcare professional or dermatologist.
Easy nail art is all about creativity rather than perfection. You can start with simple dots, French tips or tiny flowers and gradually experiment with more detailed techniques as your confidence grows.
With a few basic supplies, patience and practice, creating salon-inspired nail designs at home can become an enjoyable part of your beauty routine. Choose colours you love, keep the designs simple and most importantly, have fun experimenting with your manicure.



Comments 0