
Self-tanner can soften your skin and give it a warm, sun-kissed look, and not require you to spend hours in the sun. The product is not enough to achieve an even finish. Good preparation, careful application and patience work but streaks, patches and uneven colour can be avoided.

Start With Clean, Exfoliated Skin
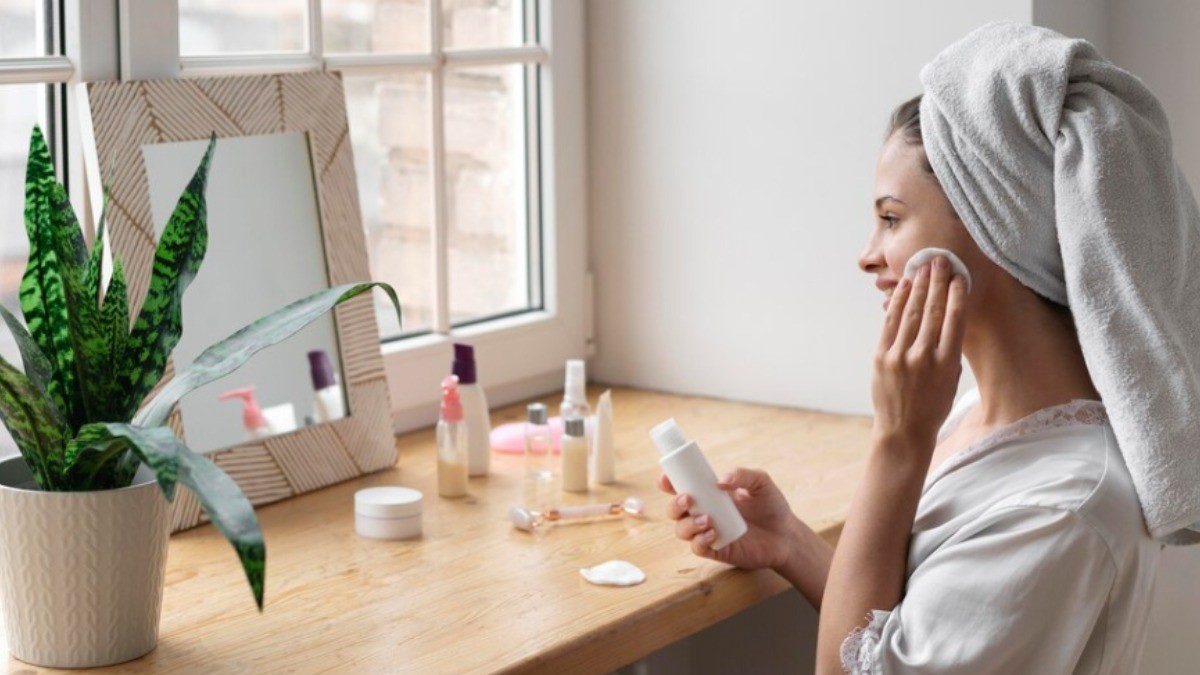
Preparation of your skin is very important before applying self-tanner. Clean skin is best and exfoliate gently to remove dead skin cells.
In the elbows, knees and ankles, especially those prone to dry areas, it’s important to look for areas that are dry and also to keep an eye on skin that is generally dry. Don’t get aggressive scrubbing, as irritated skin is not an ideal surface for tanning products when you’re ready for the skin to burn.
Related Articles


For the most part you have to exfoliate a few hours before applying self-tanner to let your skin settle.
Moisturise Dry Areas
Dry patches can absorb self-tanner more quickly, and thus darker areas. Apply a lightweight moisturiser to particularly dry parts of the body.
It is best to leave the moisturiser to soak completely before tanning. Don’t apply a heavy layer before self-tanner unless the product instructions are very specific about it.
Related Articles
Choose the Right Application Tool
The tanning mitt can help with application easier and distribute the product more evenly. It can help keep your hands from getting very stained.
For smaller areas (hands, feet, ankles) use a small makeup brush, blending mitt or another tool to apply to the area according to the product instructions.
Apply in Sections
Instead of covering your whole body at once, divide it into sections. You can start with the legs, then the torso and arms.
The product is then spread out in circular motions and blended with a little bit. Work carefully around joints and areas of skin that naturally fold.
Using too much product in one area can make a darker patch so build the colour gradually when possible.
Be Careful Around Hands, Feet and Knees
Hands, feet, knees, and elbows require more attention as they can absorb product differently.
Using less in the areas around these and applying it. Then apply self-tanner on the rest of your body and lightly blend any remaining product over the hands and feet instead of a full layer.
Remember to blend around your wrists and ankles to avoid lines.
Don't Forget the Face
If your self-tanner is specifically created for facial use, you can apply it very carefully and sparingly. Facial skin reacts differently to body skin so follow the product's directions.
Blend around hairline, jawline and ears to create a natural transition. Do not get tanning products into the eyes or on the lips.
Let the Tanner Develop
One of the biggest mistakes is touching or washing the skin too soon. Aim for the recommended development time by the manufacturer.
Wear loose, comfortable clothing while the product is developing and avoid actions that could cause excessive sweating or rubbing if directed to by the product label.
Maintain Your Tan
Once your tan has developed, moisturising regularly can keep the skin comfortable and appear even. Avoid excessive scrubbing during your showering to make the colour last longer.
As the tan fades, gently exfoliate before applying another layer.
Remember Sun Protection
Self-tanner does not protect your skin from ultraviolet radiation unless the product contains sunscreen, and even then sunscreen should be used as directed.
When you are spending a lot of time outdoors, apply a broad-spectrum sunscreen.
Final Thoughts
A good self-tan depends largely on preparation and blending. Exfoliating, moisturising dry areas, applying thin layers and paying attention to your hands, feet and joints can make for a much smoother result. And most importantly, follow the specific instructions provided with your self-tanning product.




Comments 0