
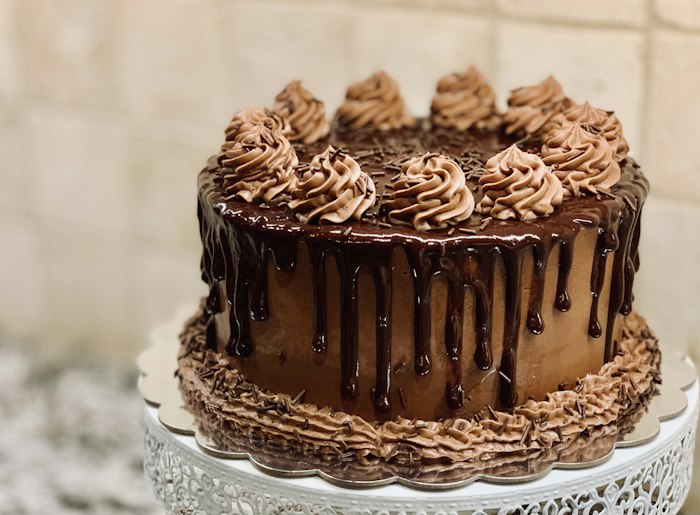
Malted Milk Piñata Cake
Malted Milk Piñata Cake is a flavorful Continental Desserts & Baking dish prepared with quality ingredients. Preheat the oven to 180°C (350°F).
-
Easy Prep ≤ 4 steps · Fast & beginner friendly
-
Moderate 5–8 steps · Everyday home cooking
-
Expert ≥ 9 steps · Multi-step advanced prep
Ingredients Required
Tap or click any ingredient to check off during cookingStep-by-Step Cooking Method
Follow numbered steps for authentic taste and perfectionPreheat the oven to 180°C (350°F).
Grease three 18cm (7 inch) cake tins and line with parchment paper.
Put the butter, sugars, flour, baking powder, malt powder and salt into the bowl of a stand mixer fitted with the paddle attachment.
Mix on low until all the butter is rubbed into the dry mixture and it has a sandy texture.
Alternatively, rub the butter into the dry ingredients by hand, as if you were making pastry.
In a small jug, beat together the milk, eggs and vanilla.
Pour the mixture down the side of the bowl into the dry ingredients and beat until everything is mixed together.
When all the liquid has been added, beat on a high speed for two minutes until it is well combined and smooth.
Alternatively, you could use an electric hand-held whisk.
Divide the mixture evenly between the prepared tins and bake in the preheated oven for 25–30 minutes until golden brown.
The cake will look slightly darker than you might expect with the added malted milk powder, so be more vigilant in checking that it is ready.
Heat the milk and malted milk powder in a small saucepan.
Whisk until all the lumps of powder have dissolved and the mixture has thickened slightly.
Set aside to cool.
Beat the butter in a large bowl until smooth, then gradually add the icing sugar and cool malted milk paste.
Use an electric hand-held whisk to beat the buttercream for 5–10 minutes until light and fluffy.
It should hold its shape but still be fairly soft.
To assemble the cake, stack the bottom two layers on top of each other and use a circular 9cm cutter to remove the middle.
Press through both layers at once to make sure the holes line up.
Put the bottom ring on a cake stand and cover the top with a layer of buttercream using a palette knife.
Try not to get icing too close to the middle, because moisture on the sweets will cause them to become sticky.
Put the second ring on top of the first and fill the hole with milk bottle sweets.
Make sure it is filled to the same level as the sponge or the top sponge will cave in.
Cover the second ring with buttercream then add the final sponge.
Thinly cover the whole cake with some of the buttercream to trap any crumbs, then chill for a minimum of 30 minutes.
Cover the cake with the remaining buttercream, placing a large dollop on the top to create a swirl.
Decorate using more milk bottle sweets and coloured paper straws.
Chef's Secret Tips & Serving Pairings
- Serve hot and fresh as a wholesome vegetarian meal.
- Pairs excellently with steamed rice, flatbreads, or fresh salad garnish.